
Where in the Halloween did October go? Eek! I woke up this morning and realized it’s five days before Halloween and I’ve got to get prepared. To be honest though, I’m not scared. Halloween is the one holiday where I can wear a wig and a LOT of makeup to cover those under eye circles and no one can say a thing. It’s 100% disguised as part of the costume. I love that about Halloween. That and the fact that I can wear six inch heels (bringing me up to a solid 5’9″) and people don’t presume I do anything wrong for a living. Fabulous. I love the tricks of Halloween.
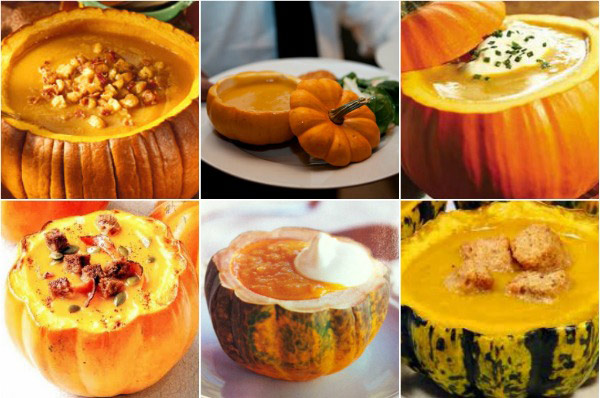
Another little trick that you can really only use this time of year is utilizing pumpkins and/or squash as tableware. I love doing it because it looks impressive. I hope that doesn’t sound snotty. I just enjoy tricks that make it look like I put in more effort than perhaps I did! And squash and pumpkin bowls with very little effort always look beautiful and impressive on a fall tablescape. I’m not saying your neighbor is going to go home screaming from jealousy when she steps into your home and sees your gorgeous squash bowls perfectly set up in a row. But if she did, would it make us feel bad? So today, I’m going to give you my step by step of how to make beautiful pumpkin bowls.

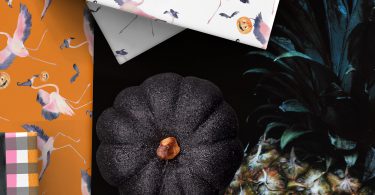
1. Choosing your squash. Any hard squash will work. I usually use acorn, but these little pumpkin darlings were just too accessible (if by the distant chance my mother actually reads this far into this post, here is where I would need to plead for her forgiveness as she has been blaming the neighbor kids for stealing her pumpkins, and I haven’t even tried to correct her.)

2. As always, first things first. Preheat your oven to a toasty 375 degrees and spray your baking pan with a nonstick spray.
3. Take your beautiful squashes and cut off the tops. If you have any pent up anger, you an pretend your squash is that certain frenemy down the street. I personally have no experience whatsoever with it, but I have heard it helps. About an inch or so from the stem is about right.

4. Time to get dirty. Clean out that squash. Seeds. Stringy flesh. All of it, ladies. This may also be considered an anger-reducing exercise. Just be sure to not scrape too hard on the flesh, especially on the bottom. Ladies, we want to make squash soup bowls – not squash soup colanders.
5. If you have a topsy-turvy squash, cut a thin slice off the bottom of the squash so it will stand upright.
6. At this point, take a break and test the Halloween candy for poison. A good rule of thumb is four or five pieces per bag of candy to ensure %100 child safety. If you are an overprotective mom, you may want to go as far as seven or eight pieces of candy.
7. Wipe the Halloween chocolate off your face and hide any wrapper evidence in the rubbage bin.

8. Brush your squashes with canola or olive oil and then lightly sprinkle with salt. Throw a pinch of salt over your shoulder…just for good measure. I always do.
9. Place your squash bowls on your baking pan and bake for about 15 minutes.
10. Pull your squash bowls out of the oven and gleefully dance around at how fabulous you are.
Happy Entertaining,


